When it comes to drawing a realistic rose, it’s essential to have a good understanding of the anatomy of this beautiful flower. A rose consists of several key components, including the petals, sepals, stem, thorns, and leaves. The petals are the most prominent feature of a rose and are what give it its distinctive shape and beauty. They can vary in size, shape, and color, and understanding how they overlap and interact with each other is crucial for creating a realistic drawing.
The sepals are the small green leaf-like structures that surround the base of the flower. They provide support and protection for the petals as they bloom. The stem is the long, slender part of the rose that connects the flower to the rest of the plant. It’s important to capture the curve and texture of the stem to add realism to your drawing. Thorns are another important feature of a rose, adding texture and interest to the overall composition. Finally, the leaves of a rose are typically dark green and have a serrated edge. Understanding how to draw these various components and how they relate to each other is essential for creating a realistic and lifelike rose drawing.
In summary, understanding the anatomy of a rose is crucial for creating a realistic drawing. From the delicate petals to the thorny stem, each component plays a vital role in capturing the beauty of this iconic flower. By studying and familiarizing yourself with the various parts of a rose, you’ll be better equipped to create a stunning and lifelike drawing that truly captures the essence of this beloved flower.
Key Takeaways
- The anatomy of a rose includes petals, sepals, stamens, and pistils, which are important to understand for realistic drawing.
- Choosing the right materials such as quality paper, pencils, and erasers is crucial for achieving a realistic rose drawing.
- Mastering shading and blending techniques is essential for creating depth and dimension in a rose drawing.
- Capturing the details of a rose petal, including its texture and shape, is key to achieving a realistic representation.
- Adding depth and dimension to your rose drawing can be achieved through careful observation of light and shadow.
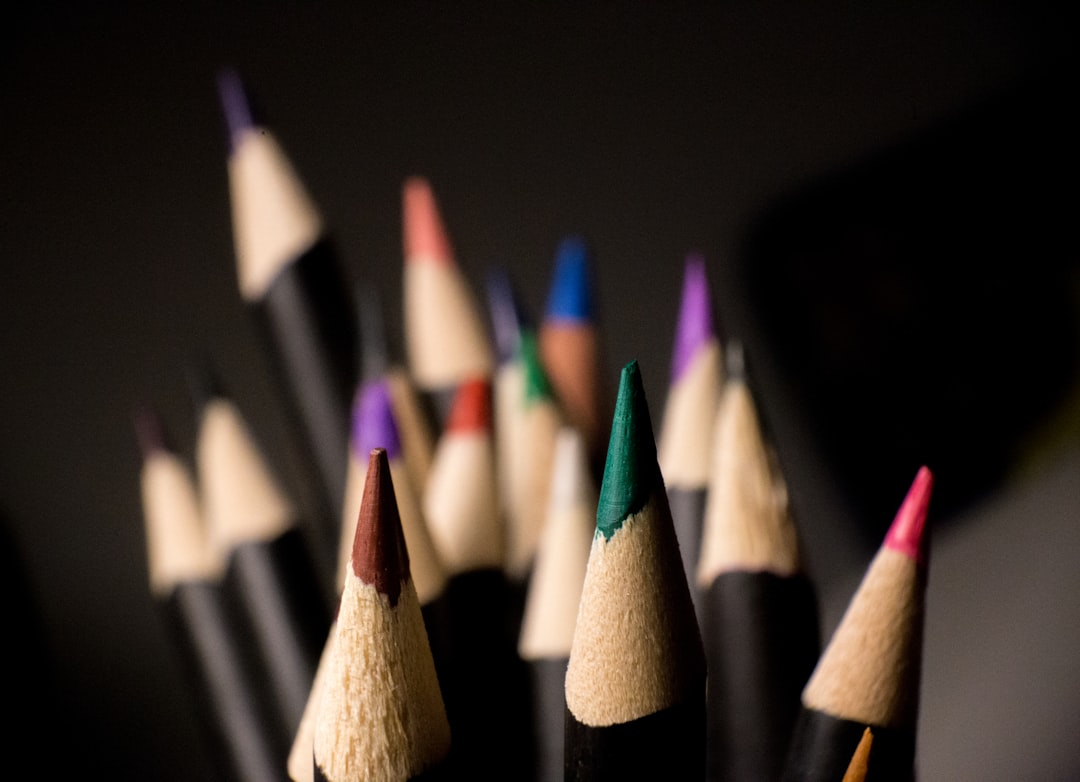
Choosing the Right Materials for Realistic Rose Drawing
When it comes to drawing a realistic rose, choosing the right materials is essential for achieving lifelike results. The first step is selecting high-quality paper that is suitable for drawing with pencils or colored pencils. Look for paper that has a smooth surface and is heavyweight to prevent buckling or warping as you work on your drawing. Additionally, consider using a drawing board or tape to secure your paper and create a stable surface for your artwork.
Next, select the right pencils for your drawing. For creating detailed and realistic rose drawings, it’s best to use a range of graphite pencils in various hardness grades. This will allow you to achieve a wide range of tones and textures in your drawing. If you’re working with colored pencils, choose a set that offers a wide range of colors and shades to accurately capture the hues of a rose.
In addition to pencils, consider using other materials such as blending stumps, erasers, and sharpeners to enhance your drawing process. Blending stumps can be used to create smooth transitions between different tones and textures, while erasers can be used to add highlights and correct mistakes. A sharpener will ensure that your pencils are always ready for precise and detailed work.
In conclusion, choosing the right materials is crucial for creating a realistic rose drawing. By selecting high-quality paper, a range of pencils, and other essential drawing tools, you’ll be well-equipped to capture the beauty and intricacies of a rose with precision and accuracy.
Mastering Shading and Blending Techniques
One of the key elements in creating a realistic rose drawing is mastering shading and blending techniques. Shading is essential for capturing the three-dimensional form of a rose and creating depth and volume in your drawing. Start by observing how light falls on a real rose and identify areas of light and shadow. Use your pencils to gradually build up layers of shading, paying attention to the direction of light and the contours of the petals.
Blending is another important technique for creating smooth transitions between different tones and textures in your drawing. Blending stumps can be used to gently smudge and soften pencil marks, creating a more realistic and seamless appearance. Experiment with different blending techniques to achieve the desired effects in your rose drawing.
In addition to shading and blending, pay attention to details such as highlights and cast shadows to add realism to your drawing. Use an eraser to carefully lift out highlights on the petals where light hits them most directly. This will help create a sense of luminosity and dimension in your drawing. Similarly, observe how shadows are cast by the petals onto each other or onto the stem and leaves, and use shading techniques to accurately capture these subtle nuances.
In summary, mastering shading and blending techniques is essential for creating a realistic rose drawing. By carefully observing light and shadow, using blending techniques to create smooth transitions, and adding details such as highlights and cast shadows, you’ll be able to capture the beauty and intricacy of a rose with precision and realism.
Capturing the Details of a Rose Petal
| Aspect | Details |
|---|---|
| Color | Pink, red, white, yellow, etc. |
| Texture | Soft, velvety, smooth |
| Fragrance | Sweet, floral |
| Size | Small, medium, large |
| Shape | Rounded, oval |
Capturing the intricate details of a rose petal is essential for creating a realistic and lifelike drawing. Start by observing the texture and structure of real rose petals, paying attention to details such as veins, creases, and edges. Use your pencils to carefully replicate these details, gradually building up layers of shading and texture to create a sense of depth and realism.
To capture the delicate texture of a rose petal, consider using different pencil techniques such as hatching, cross-hatching, and stippling. These techniques can be used to create fine lines, dots, and patterns that mimic the natural texture of a rose petal. Experiment with different pressures and pencil grades to achieve the desired level of detail in your drawing.
In addition to texture, pay attention to the subtle variations in color and tone on a rose petal. Use your pencils to carefully blend different shades and hues, creating a sense of depth and dimension in your drawing. Consider using colored pencils to accurately capture the vibrant colors of a rose petal, layering different shades to achieve a rich and realistic appearance.
In conclusion, capturing the details of a rose petal is crucial for creating a realistic drawing. By observing texture, structure, color, and tone, and using various pencil techniques to replicate these details, you’ll be able to create a stunning and lifelike representation of this iconic flower.
Adding Depth and Dimension to Your Rose Drawing
Adding depth and dimension is essential for creating a realistic rose drawing that truly captures the beauty of this iconic flower. Start by carefully observing how light falls on a real rose and identifying areas of light and shadow. Use your pencils to gradually build up layers of shading, paying attention to the contours and form of the petals, leaves, stem, and other components of the flower.
Consider using techniques such as hatching, cross-hatching, and stippling to create depth and volume in your drawing. These techniques can be used to add texture and detail while also enhancing the three-dimensional appearance of your artwork. Experiment with different pressures and pencil grades to achieve a wide range of tones and textures that accurately capture the depth and complexity of a real rose.
In addition to shading techniques, consider using perspective and composition to create depth in your drawing. Positioning the various components of the rose in relation to each other can help create a sense of space and dimension in your artwork. Pay attention to overlapping petals, cast shadows, and other elements that contribute to the overall depth of your drawing.
In summary, adding depth and dimension is crucial for creating a realistic rose drawing. By carefully observing light and shadow, using shading techniques to create volume, and considering perspective and composition, you’ll be able to capture the beauty and complexity of a rose with precision and realism.
Creating Realistic Textures in Your Rose Drawing
Creating realistic textures is essential for capturing the beauty and intricacy of a rose in your drawing. Start by carefully observing the various textures present in a real rose, including smooth petals, rough thorns, and serrated leaves. Use your pencils to replicate these textures, paying attention to details such as lines, patterns, and surface quality.
Experiment with different pencil techniques such as hatching, cross-hatching, stippling, and blending to create a variety of textures in your drawing. These techniques can be used to mimic the natural textures found in different parts of a rose, from the velvety softness of its petals to the roughness of its thorns. Varying your pressure, pencil grades, and stroke patterns can help you achieve a wide range of textures that accurately capture the complexity of a real rose.
In addition to pencil techniques, consider using other materials such as erasers or blending stumps to enhance textures in your drawing. An eraser can be used to lift out highlights or create subtle textures on petals or leaves, while blending stumps can be used to soften edges or create smooth transitions between different textures.
In conclusion, creating realistic textures is crucial for capturing the beauty of a rose in your drawing. By carefully observing textures in nature, experimenting with different pencil techniques, and using additional materials as needed, you’ll be able to create a stunning and lifelike representation of this beloved flower.
Bringing Your Rose Drawing to Life with Color and Contrast
Bringing your rose drawing to life with color and contrast is essential for creating a vibrant and realistic representation of this iconic flower. If you’re working with colored pencils, select a wide range of colors that accurately capture the hues present in a real rose. Pay attention to subtle variations in color and tone on different parts of the flower, from the delicate pinks or reds of its petals to the deep greens of its leaves.
Consider using layering techniques with colored pencils to build up rich colors and create depth in your drawing. Start with lighter shades as a base layer before gradually adding darker tones to create shadows and contrast. Experiment with blending colors together to achieve smooth transitions between different hues while also capturing the vibrant colors present in a real rose.
In addition to color, pay attention to contrast in your drawing. Contrast refers to the variation between lightness and darkness in an artwork and can help create depth and visual interest in your rose drawing. Use shading techniques with graphite pencils or darker shades with colored pencils to create strong contrasts between light and shadow on different parts of the flower.
In summary, bringing your rose drawing to life with color and contrast is crucial for creating a vibrant and realistic representation of this beloved flower. By carefully selecting colors that accurately capture the hues present in nature, using layering techniques with colored pencils, and paying attention to contrast in your drawing, you’ll be able to create a stunning artwork that truly captures the beauty of a real rose.
By paying attention to the subtle variations in color and shading, and by using contrast to create depth and dimension, your rose drawing will come alive on the page. The careful application of color and the use of contrast will help to convey the delicate petals, the intricate details, and the overall beauty of the rose. With practice and patience, you can bring your rose drawing to life with color and contrast, creating a stunning piece of art that captures the essence of this timeless flower.
If you’re interested in learning how to draw a realistic rose, you should check out this helpful article on adoziox.com. This article provides step-by-step instructions and tips for creating a beautiful and lifelike rose drawing. Whether you’re a beginner or an experienced artist, you’ll find valuable information and inspiration in this article to help you improve your drawing skills.
FAQs
What materials do I need to draw a realistic rose?
To draw a realistic rose, you will need a pencil, eraser, drawing paper, and a set of colored pencils or markers for adding color to your drawing.
What are the basic steps to draw a realistic rose?
The basic steps to draw a realistic rose include sketching the basic shape of the rose, adding details such as the petals and leaves, and then adding shading and color to create a realistic appearance.
Are there any tips for drawing a realistic rose?
Some tips for drawing a realistic rose include studying real roses to understand their structure and details, using light and shadow to create depth and dimension, and practicing patience and attention to detail.
Can I use reference images to help me draw a realistic rose?
Yes, using reference images of real roses can be very helpful in understanding the details and structure of a rose, and can aid in creating a more realistic drawing.
How can I add color to my realistic rose drawing?
You can add color to your realistic rose drawing using colored pencils, markers, or even watercolor paints. Start by layering light colors and gradually building up to darker shades to create a realistic and dimensional appearance.